

We were working on this sweet girl today - another Toddler bear custom order. Her new mum chose this nice mid-brown for her nose colour, and we set to work embroidering it.
This is how we create our bear noses. Each artist has their own technique. Some use templates, some needle felt, some sculpt clay noses, some use leather, and I'm sure there are even more options I haven't thought of. But we (usually) give our bears embroidered noses. We start by trimming the nose area and laying down foundation stitches. These mark out the shape of the nose, and act like a guideline or template that wont get in the way. It's important to make these stitches TIGHT. You don't want them buckling up between the next layers of embroidery.


Then it's a matter of embroidering over and over and building up the shape and the 3D nose effect you desired for your bear. We will embroider one side, then try and get the other side symmetrical. If we're not happy, we just keep going.

Eventually we get a nose shape and size that works for the bear. Then it's a matter of adding some shading and finishing up the mouth.


Some ears will truely bring the bear to life - and then her head is ready to be attached to the rest of her.


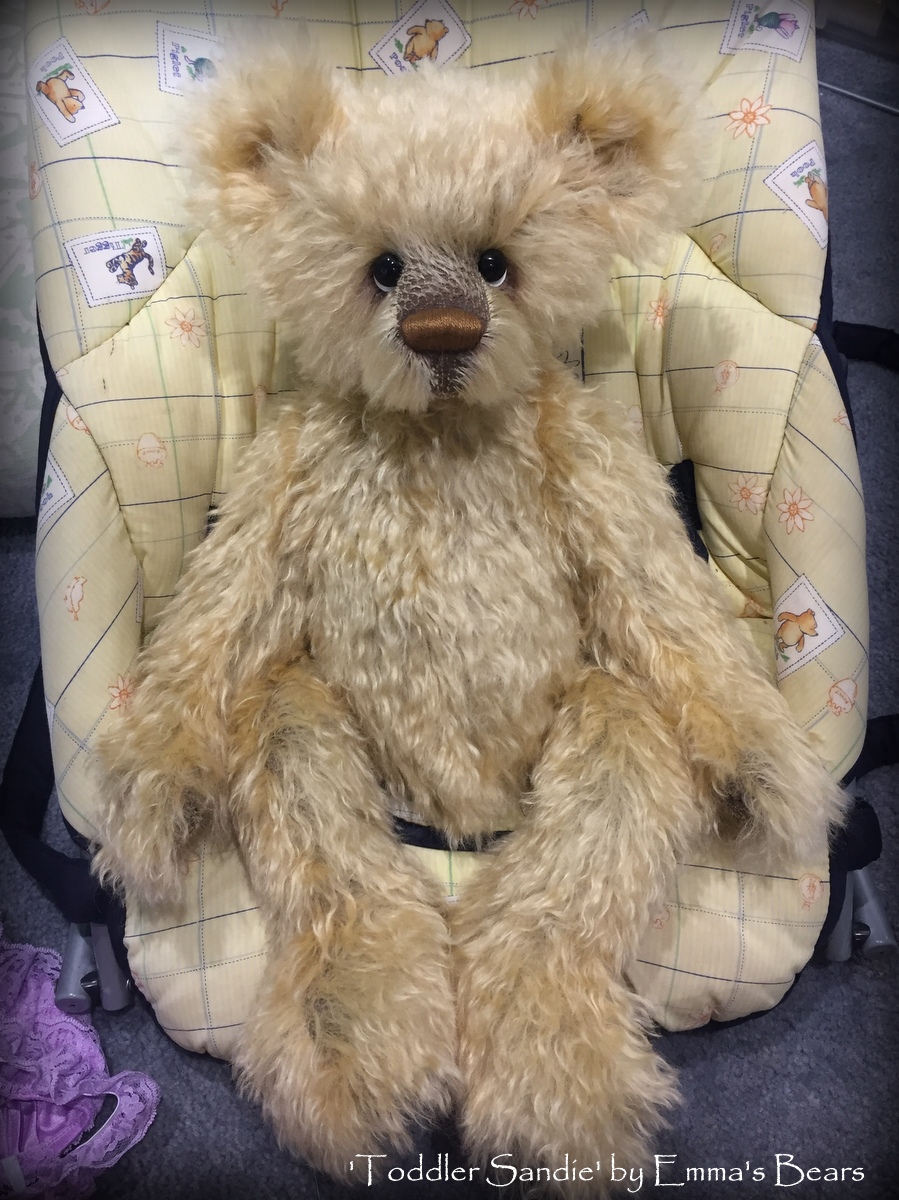
Toddler Sandie's commissioning collector decided to adopt her as an undressed bear. We took some photos of her in a few different outfits (see below) to show how cute this design does look in baby clothing, but she is also stunning just 'in the fur' :)
She has been adopted.


She's adorable. I love the way you do the nose and mouth. Someday I might be brave enough to try that. Thank you for your explanation.
ReplyDelete