
We were asked about making faux fur Christmas Tree skirts quite a bit last year, and we had no idea what that would look like, but lots of our white faux fur was shipped out to various locations around the world for that very purpose. So this year I decided to have a go at making one myself. How hard could it be?
Not very hard at all if you're happy to have the edges left as-is, no lining and just a bit of Velcro to hold it in place! This is certainly not going to win any design awards, but it is easy enough for ANYONE to do, and you don't need to sew anything. (And it does look pretty awesome!) Win Win!

So this is how our very basic Kmart Christmas tree looks without the skirt. It's not so bad, but there are a few cables dangling below and the tree's feet aren't the prettiest of things. So lets fix that...

First you'll need to source a square piece of faux fur. We have gone with a piece of our Blanc de blanc white curly mongolian style faux fur cut to 100cm x 100cm. (We have a special listing JUST for this size piece of fur on our website if you'd like to grab a piece and follow along at home! ;))
Fold the fur in half to give you a triangle, see below.

Fold it in half again and mark out the middle position. (This will be where we make the hole for the trunk of the Christmas tree later on).

Using the middle position marking as an anchor point, tie a piece of string to a sharpie pen and hold it in place so that the pen sits just on the edge of the fur. Hold the string at this anchor point with one hand, and trace a circle around the fur with the other hand.

This is what it will look like once you've traced your half-circle on the first side of the fur. You'll now need to flip it over and finish the circle on the other side.

Once you have done this you'll end up with a fully drawn circle that skims around the square of faux fur leaving minimal waste. Repeat the process with a much smaller length of string in the centre of the circle to mark out a space to fit the trunk of the Christmas tree. Less is more in this situation as faux fur does have a slight stretch to the pile and a smaller centre holes means more of the tree-base is covered up.

Carefully cut out your circle. Make sure to slide your scissors between the fur pile and only cut the backing. This will mean the pile dangles over the edge of the circle nicely, and you wont even know the edges are left unfinished when it's around the tree.

This is what it will look like fully cut out.

Flip it over to check the fur-pile direction. It will be best to have the pile running downwards and over the edge of the backing at the front of the tree, as this looks best. So mark the opposite side of the circle as the back - this is where we will cut our slit.

Cut the slit as a straight line from the outer edge of the circle to the centre hole.

Source some stick-on velcro (white will be a lot less obvious - but we have used black so that it shows up better in the photos).

Roughly measure out how much velcro you'll need (It'll be just under 50cm).

Stick it in place on either side of the cut you just made, and now your Christmas tree skirt is finished! And not one bit of sewing was required!
Of course, if you wanted to jazz it up a bit you could add a backing fabric to finish off the raw edges and sew velcro in place - or even add ribbon ties or buttons. But if you don't have time to do that, this really is quite fine, and gives you maximum impact for minimal effort!

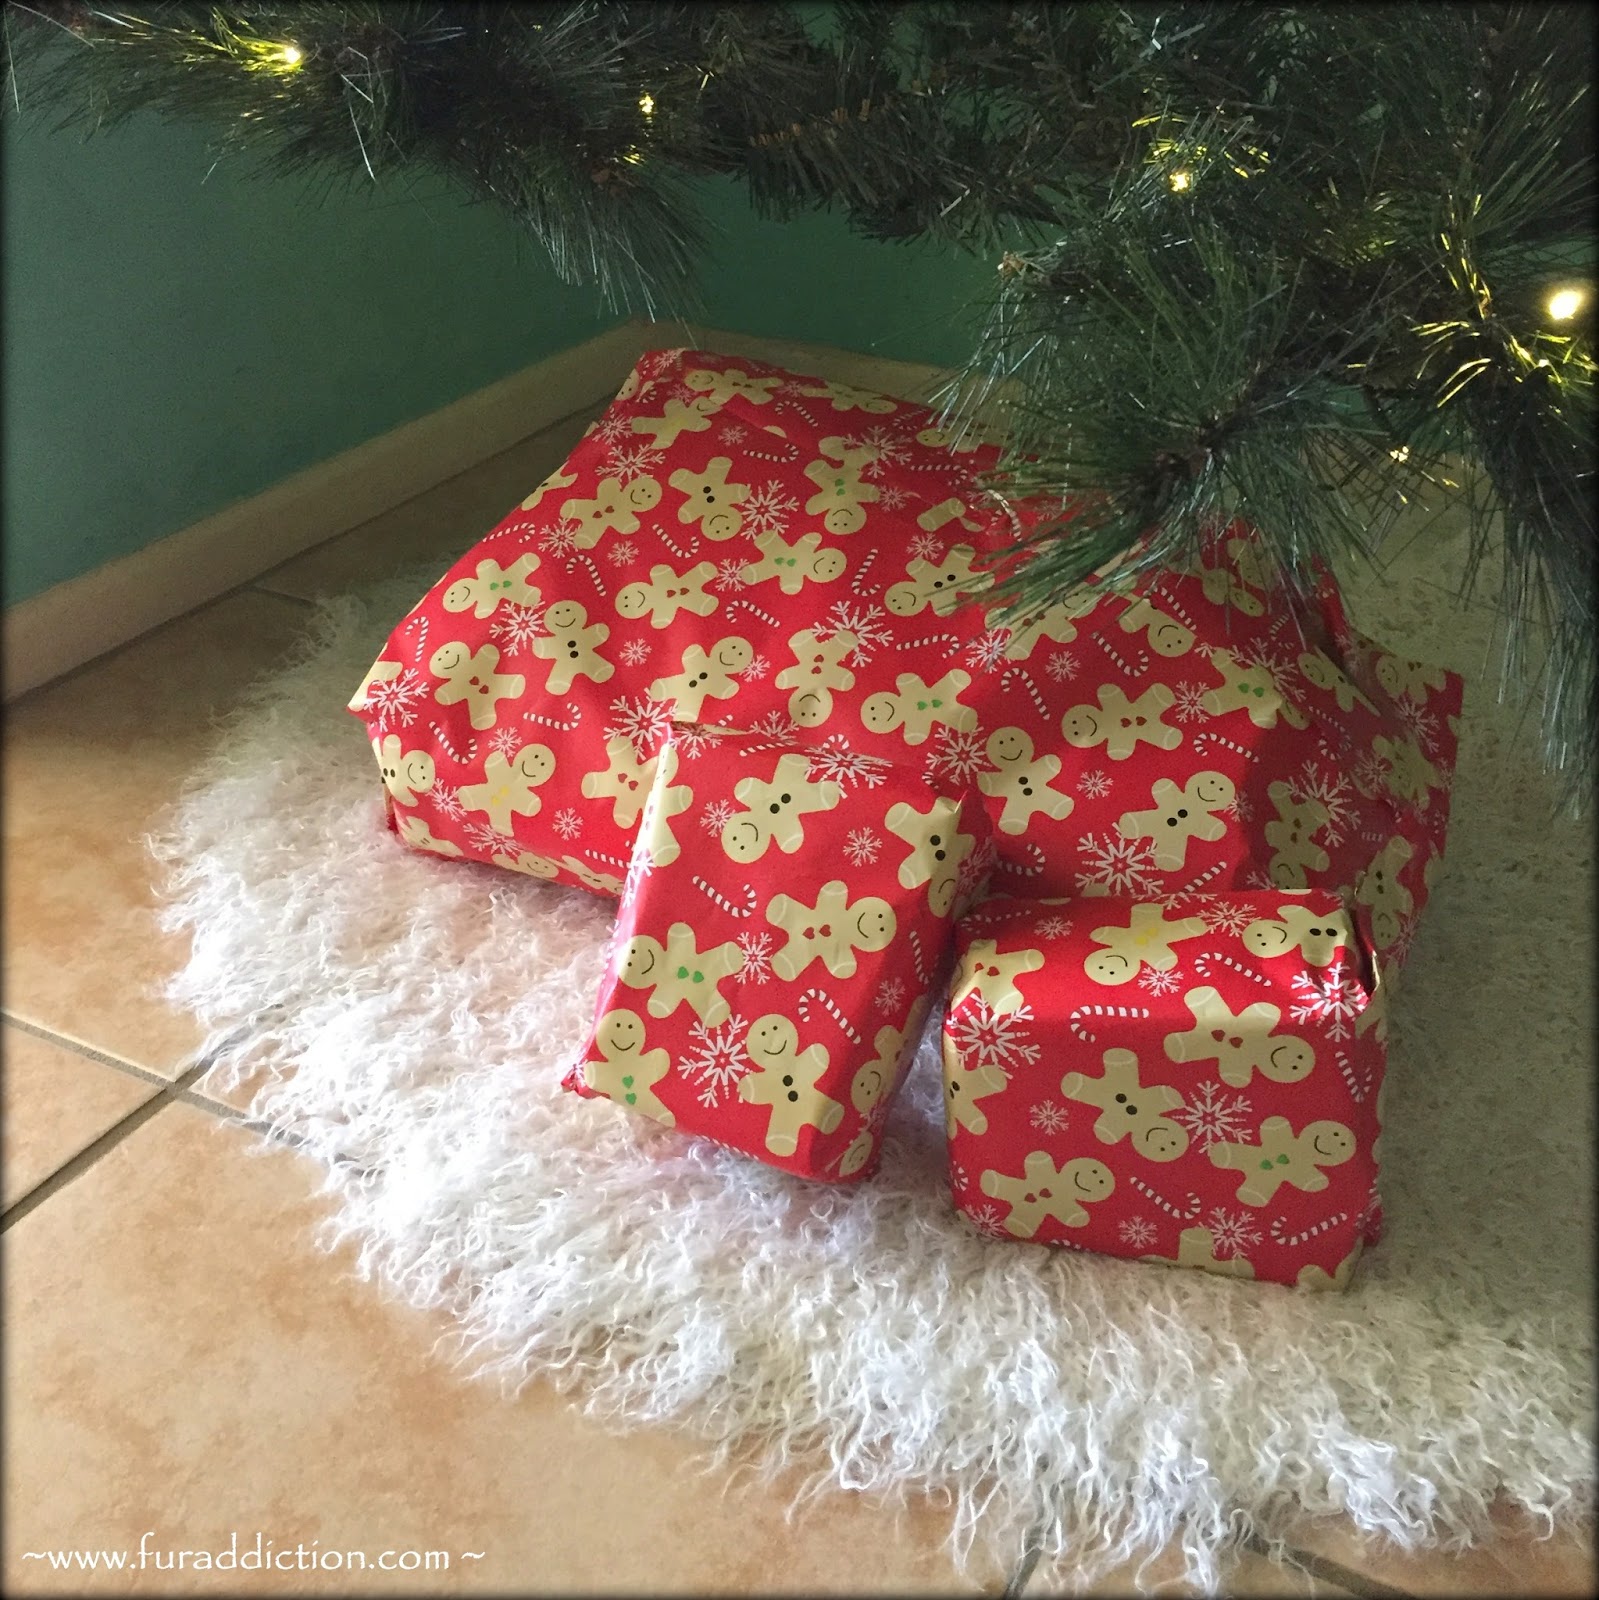
One newly placed Christmas Tree skirt. I love this curly white fur for the skirt - it almost looks like a bed of freshly fallen snow around the base of the tree. It hides all the cables and cords, and gives the tree a real sense of warmth.
I think quite a few different types of fur could work quite nicely for this project as well, so if you'd like to grab a piece not available in our special Christmas Tree Skirt DIY listing, just let us know and we'll price it up for you :)


No comments:
Post a Comment