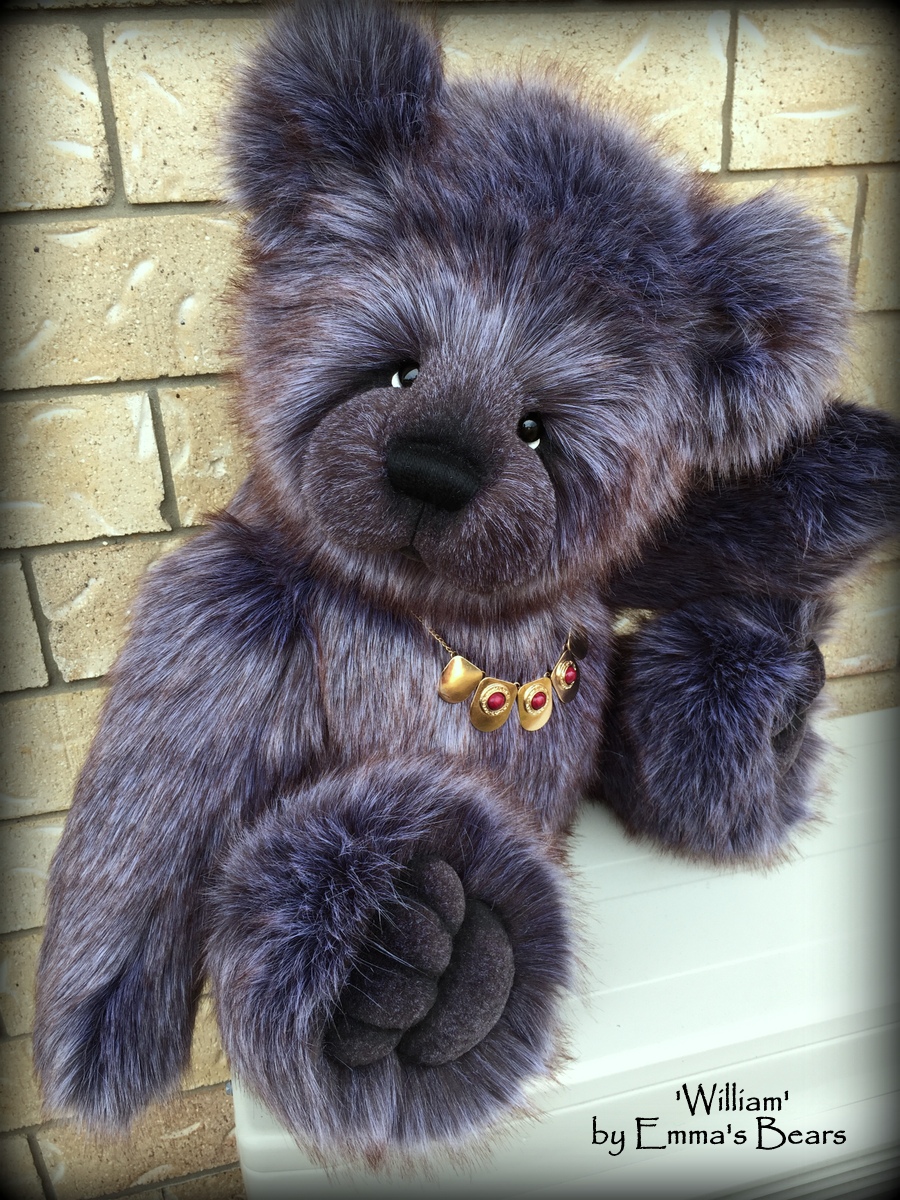
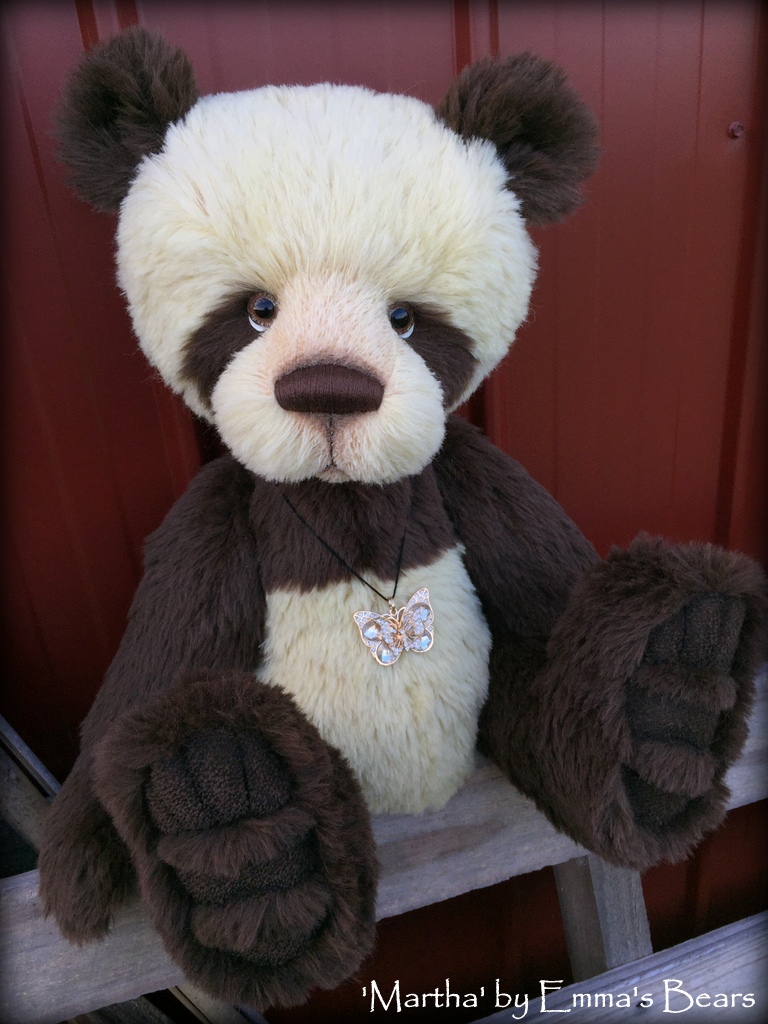
This sweet bear is 'Orchid Kiss', made using our new
faux fur of the same name. We used our
'FREE PATTERN' to make this girl, and she turned out beautifully! I can't wait to see all of the Orchid Kiss bears that you guys come up with - kits for her are
available here!
Because the instructions included with the FREE pattern are quite basic, we have put together a document with additional details and images to help you get those cute chubby cheeks, sweet embroidered nose and pulled 3D toes.
Below are some of the instructional images. The first photo shows the start of the cheek-trimming process. We cut the fur down the chin seam and from the eye-placement position around the curve of the face and down to meet again at the base of the chin. Once we've roughly marked out the cheeks in this way, we then start removing the ends of the fur millimeter by millimeter. On tipped fur like this Orchid Kiss fabric, a great starting point is actually just removing the darker tip colour, then trimming back further from there.
After a while you'll end up with two roughly shaped cheeks like this. They certainly don't need to be perfect at this stage though.
Once we have the cheeks trimmed we then insert the eyes. The instructions on the pattern will cover this as well, but it's simply a matter of anchoring your thread to one of the eye sockets, sending your needle through the muzzle over to the other eye socket and then back again a few times (making sure to grab enough fabric with each turn that your thread doesn't just pull back into the head). Once you have the indents for the eyes, cut a SINGLE thread in the backing of the fur in the eye-socket to create a hole just large enough for the wire loop at the back of the eye, and then insert one eye pulling tightly. Repeat for the other eye finally anchoring off the thread at the base of the head or chin.

Then it''ll be nose embroidery time. If you feel more comfortable using a nose template and embroidering over it, simply draw the approx nose shape and size you want onto a scrap piece of black felt or fabric and tack it in place - then embroider your nose stitches over the top of it like we have below. I prefer NOT to use a template as I feel it gets in my way, so I embroider directly onto the face. The first layer of stitches act as my foundation. I pull them tightly and evenly and also use them to roughly mark out how large I want the nose to be. Then it's just a matter of sewing over and over with neat, evenly tensioned stitches until you can no longer see the purple of the fabric poking through!


The photo above shows the start of the mouth. Bring a length of nose thread straight down from the centre of the nose following the chin seam. Push the needle into this spot, then out again off to the side of the seam to where you want the 'mouth' to be. Thread the needle back under the original chin-stitch, and then off to the other side of the mouth. If you pull reasonably tightly you'll end up with a cute little mouth indent and rounded chin.
Then all that is left is to sew on the ears and you'll have one sweet little purple bear looking back at you!
We also talk about sculpting cute 3D toes with the additional instructions included with the Orchid Kiss kit, and the edited pattern images below show what we are referring to.
We've also marked out the approx joint positions too as I know a lot of new bear-makers can be a bit unsure about where to place the limbs. There's really no hard and fast rule with joint placement (besides the fact that the legs go lower then the arms! lol), but this guide will help. I never pre-mark joint hole positions as a lot can change during sewing. I wait until I have the body and limbs sewn and turned right side out, I place the joints inside the limbs, then I lay them over the body and eye-ball the placement that looks right to me. Then I cut the joint holes and assemble. :)
If you'd like to grab one of these kits you'll find them on
our website and in our
etsy store. The first kits will include the matching lavender satin ribbon as well, but only while stock lasts :)